 en
en de
de cn
cn fr
fr it
it es
es- Sets
Can electronics be creative? Sure!
The following three projects show how to integrate creative electronics into everyday life, for instance, when monitoring your most important things or creating a birthday present for your friends. Theory is very important but it’s way more fun putting theory into praxis.
Even children will be able to implement the following cool projects that are also suitable for birthday parties, creative competitions or the next hobbyists’ meeting.
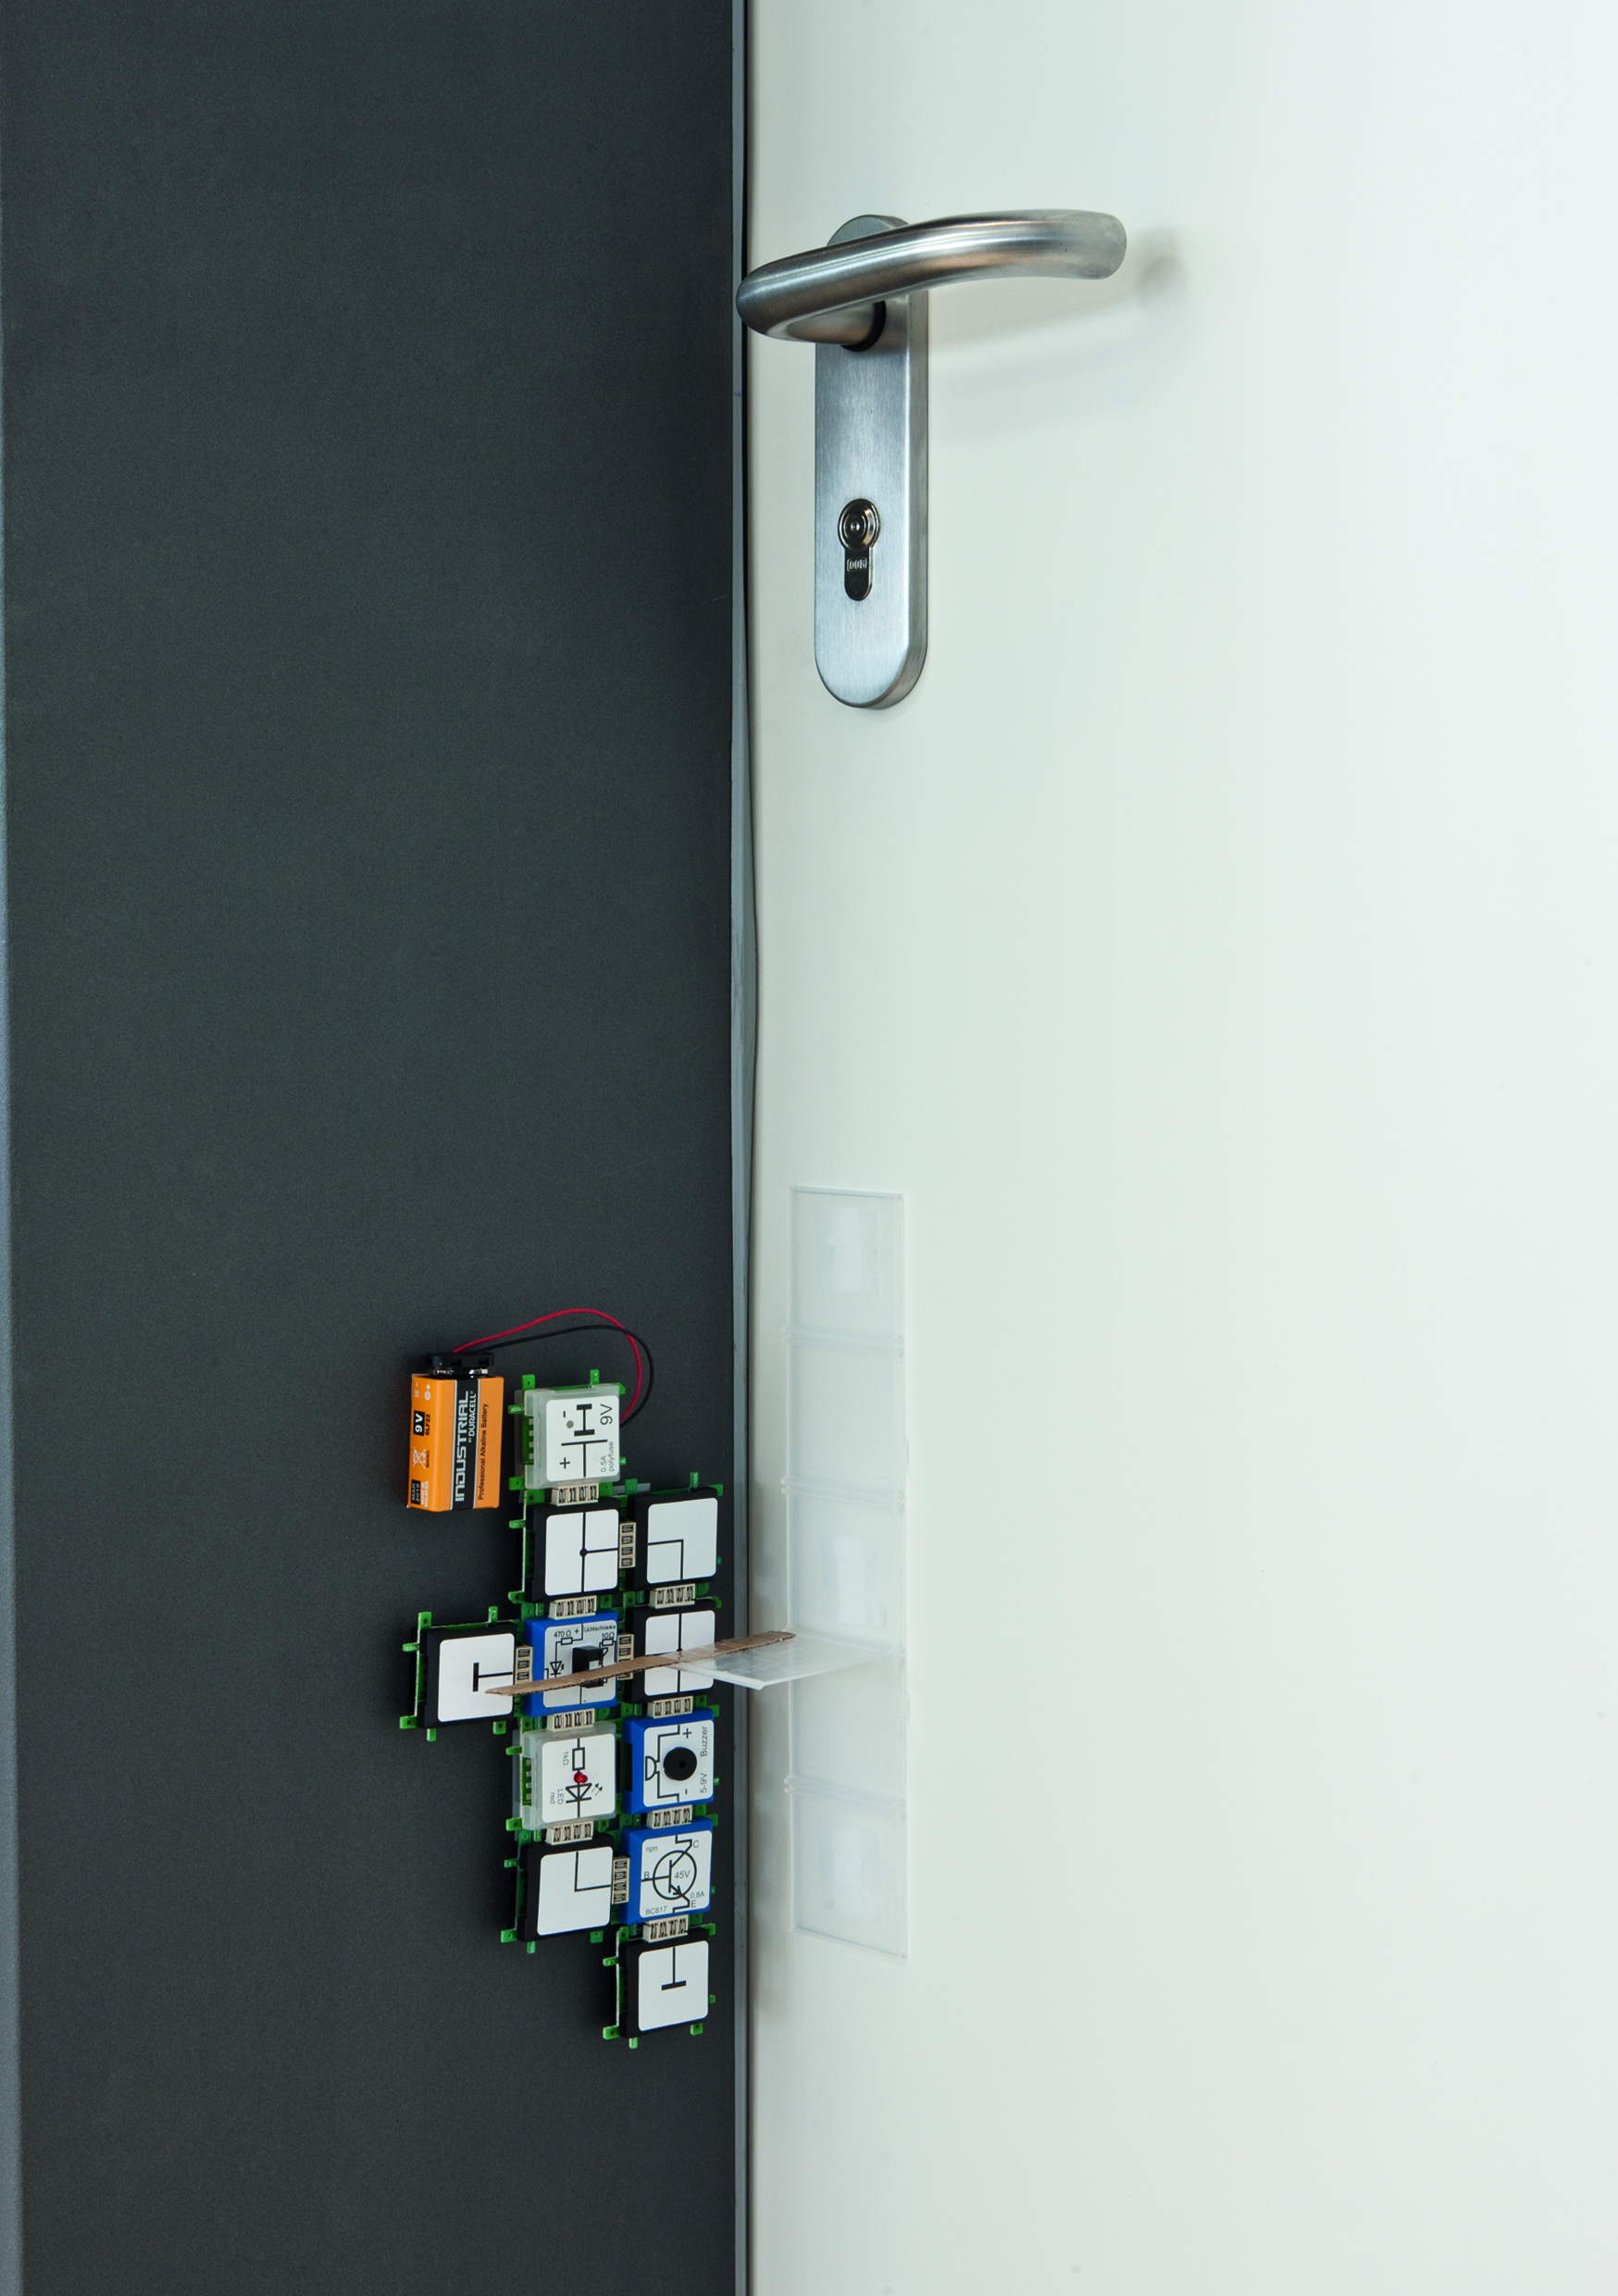
Door alarm to protect your room
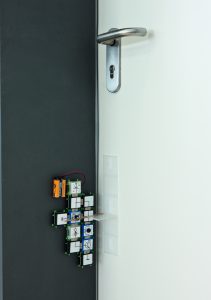
For this project you need a new brick that is called light barrier and that does exactly what it sounds like. Additionally, you need adhesive tape or stickers in order to attach the circuit on your door frame. Each door is different from the other but you will surely find a way to have the circuit fixed. When you put a piece of paper through the light barrier the current flow is interrupted and the buzzer and LED won’t react. But as soon as someone opens the door, the paper will be drawn out of the light barrier and the buzzer and LED will react. We built the barrier’s counterpart on the door out of bricks from the basic set and a piece of cardboard. From now on you will always know when someone is entering your room.
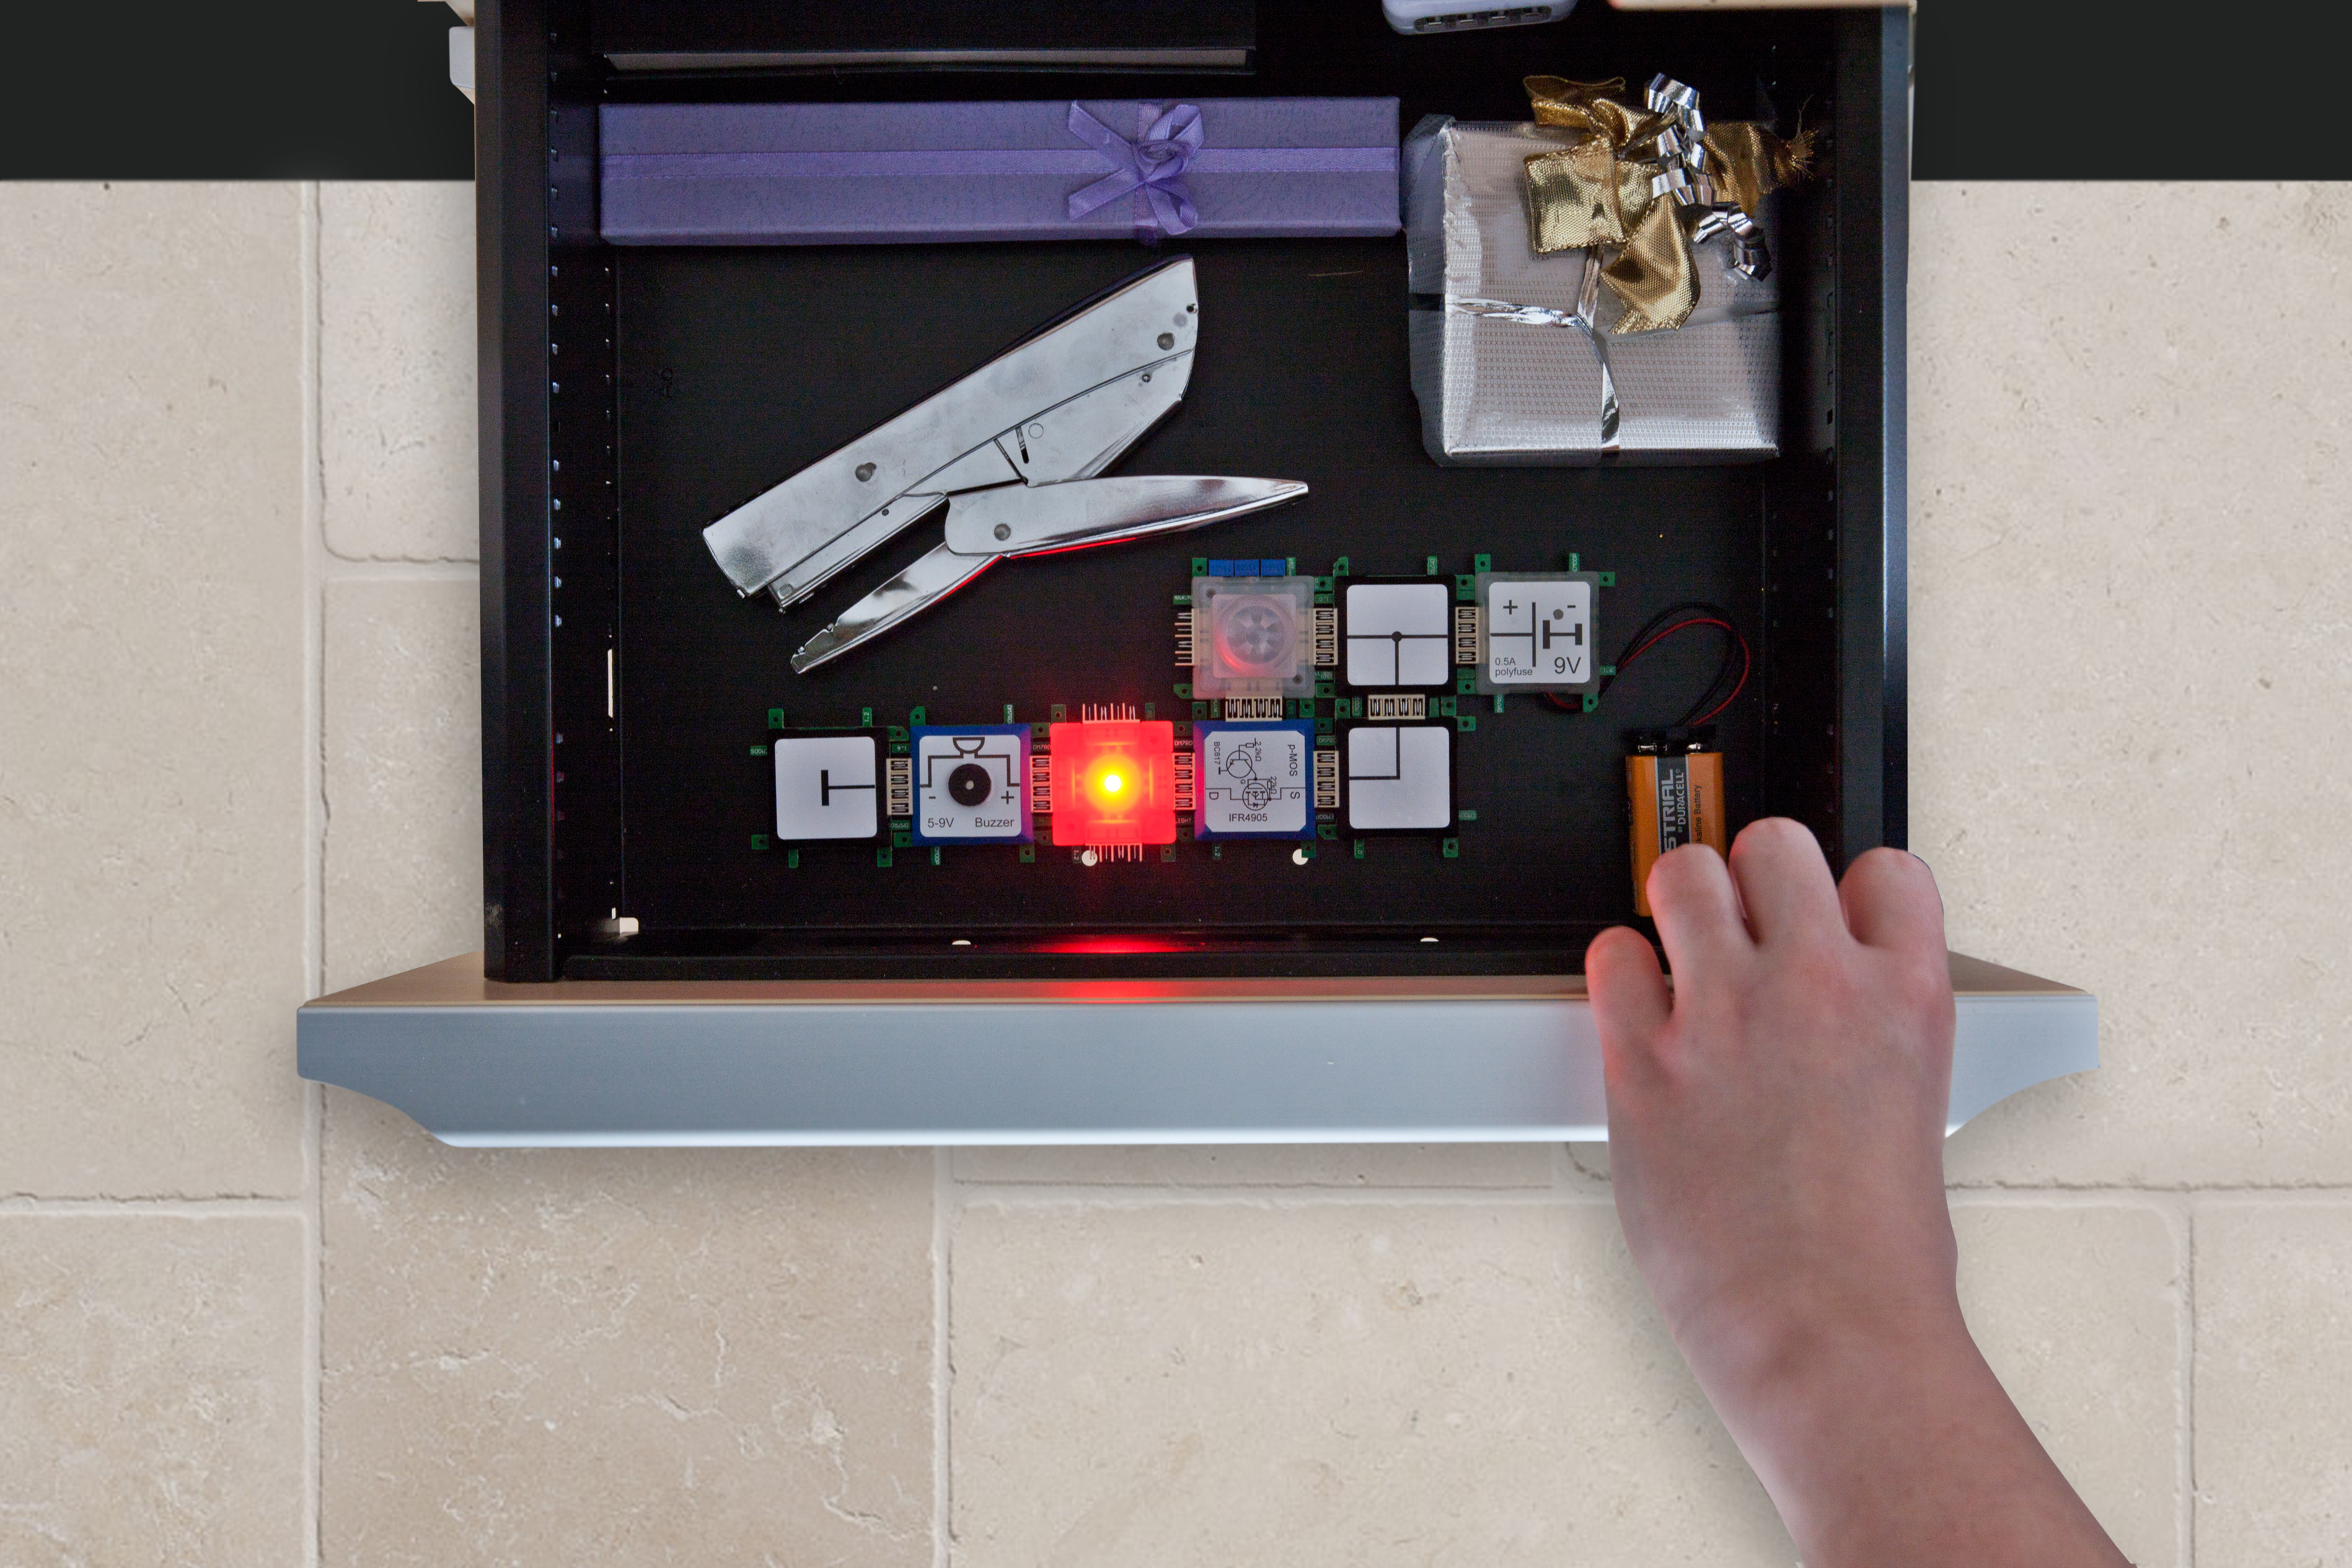
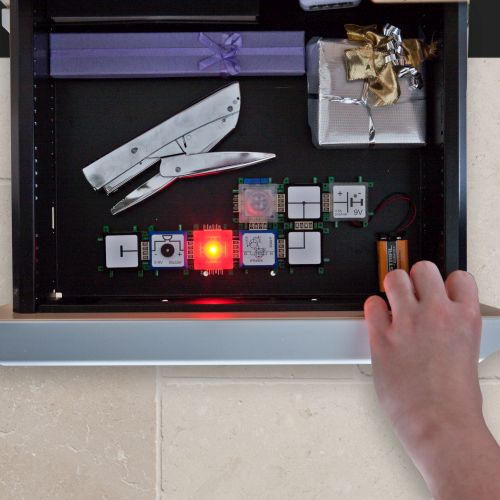
Alarm system for drawer
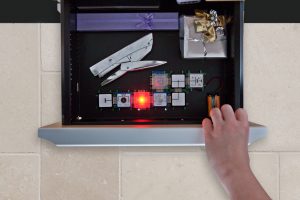
You already built a small alarm system for a different task. This time we will build a circuit that discourages unauthorized persons even better – with the help of light and sound. For this, we need a buzzer, a RGB LED and the motion sensor. When you put this circuit into your drawer and an unauthorized person opens it, the RGB LED will light up and the buzzer will make a loud sound.
Illuminated flowerpot

Usually, a flowerpot has a brown color and is round and boring – but we’ll make a work of art out of it. For this circuit you need a switch brick, two RGB LEDs and a battery brick. Additionally, you need a flowerpot out of plastic and a plastic bowl that fits into the flowerpot. Now you need your parents’ help: they can cut a hole for the switch brick and a few for the pot in order to let some light shine through. You need to remove the bricks’ casing in order to fold them together – only the battery bricks stays at it is. Then you put the switch brick through the pot’s square hole and fix it with a metal or plastic piece from the outside by putting it in the recess of the switch. Note: Now you can move the switch only to the middle or bottom. Put the plastic bowl into the flowerpot filling it with potting soil and then begin planting your flowers. Careful: The circuit must not be exposed to water!